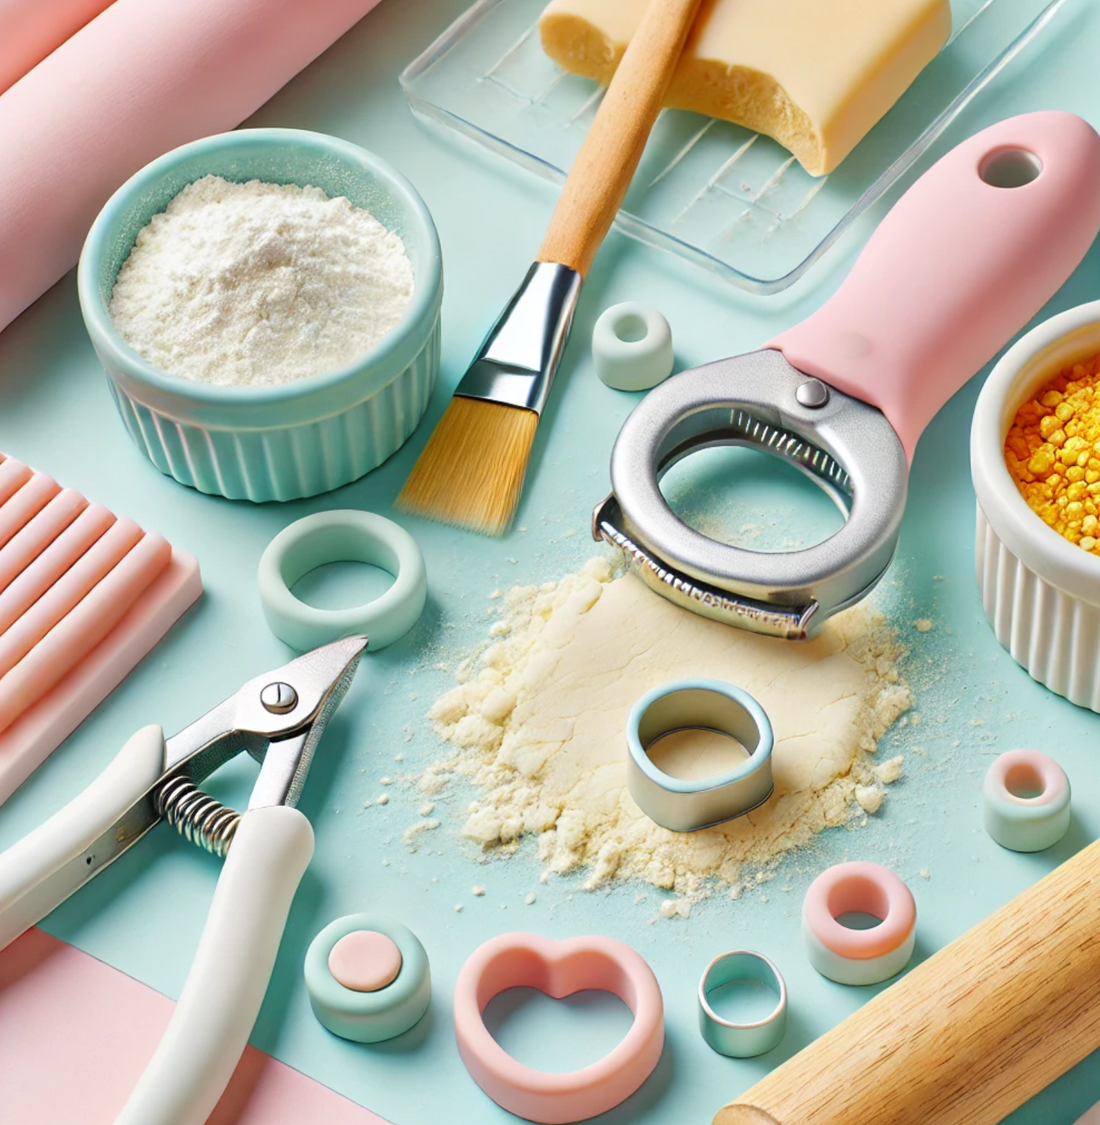
How do I use patterns?

Tips for Getting the Best Results with Your Patterns! 🎨✂️
We all hate it when clay sticks to our molds, right? Luckily, there are ways to minimize this problem. Here are a few handy tips to prevent clay from sticking to your molds:
1. Cleanliness 🧼
Make sure your molds are clean before and after each use. Any remaining clay particles can cause problems in future projects.
2. Preparation of the Dough 🧁
If your clay is too soft or too sticky due to the heat, place it in the refrigerator for 10 minutes. This will harden the clay slightly, making it easier to cut and preventing sticking.
3. Sticking to Shiny Surface 🔄
Make sure your clay sticks to a smooth surface. I use shiny tiles (I bought them at a local hardware store) and I stick the clay to the tile evenly. After rolling it over, I use a piece of paper if necessary to gently press the clay down to prevent fingerprints. This way, the clay sticks to the tile rather than the mold!
4. Use Anti-Adhesion Agents 🌾
It is important to use anti-stick agents, especially for small and detailed molds. My favorite is cornstarch, but a light spray of water or cling film will also work. For cornstarch: Put some starch in a small bowl and dip your mold in it, then cut your clay as normal. You can remove any excess starch by brushing or washing it after baking. For cling film: After rolling out your clay, lay cling film on it and cut, this method will give it a slight curved edge.
5. Cutting Techniques ✂️
Use gentle pressure when using your molds. I use an acrylic sheet when using my molds, which makes the cutting process much more stable and easier (bonus: less pressure on your hands too!). I gently shake the acrylic sheet to ensure the mold cuts completely and separates slightly from the clay.
6. Small and Detailed Patterns 🧐
Unfortunately, with small and detailed molds, sticking clay is inevitable. However, there are some tips to help reduce this. Make sure your clay is not too thick, smaller molds always work better with thinner clay. I use settings 4 or 5 on my Atlas 150 when using my mini molds. Remember, you may need to clean your pieces after firing.
By following these simple tips, you can achieve the best results with your molds in your polymer clay projects. Unleash your creativity and create wonders with your Lulicutters molds! 🎨✨ Don't forget to visit lulicutters.com for more information and new mold options!
